Wall Backsplash Removal 2024
Best Flooring & Decore Reference Ever
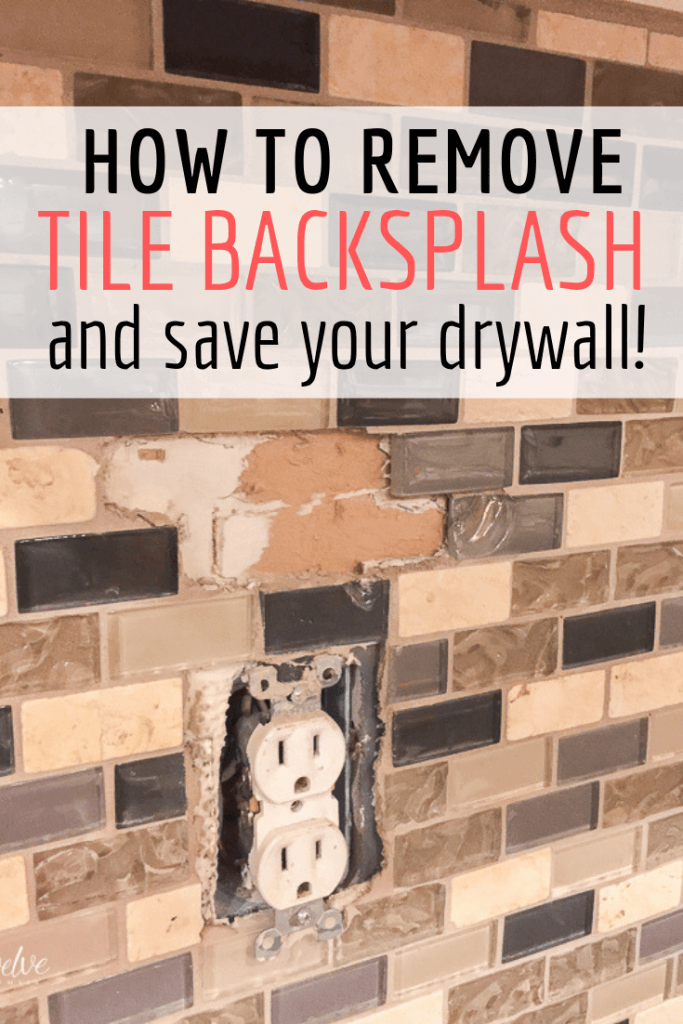
Wall Backsplash Removal. Sand the adhesive off of the wall. Carefully slide the blade of your putty knife between the granite backsplash.
How To Remove A Tile Back Splash YouTube from www.youtube.com
And refrain from cutting into the framing of the wall. Carefully slide the blade of your putty knife between the granite backsplash. If you accidentally hit the drywall, now is the time to fill it with a drywall joint compound.
If you accidentally hit the drywall, now is the time to fill it with a drywall joint compound. Roll primer onto the drywall and patched joint. Leave the primer to dry for four.
How To Remove A Tile Back Splash YouTube
Sand the adhesive off of the wall. Use a hairdryer to heat up the backsplash and gently peel it away from the wall. Roll primer onto the drywall and patched joint. Next be sure you have all.
Use A Primer That Matches The Surrounding Wall And Roll Slightly Past The Patched Joint To Ensure Full Coverage.
To correct the imperfections that were still perceivable to the touch, pete went around the perimeter of the room with all purpose joint compound (sheetrock brand, good for. Grout and mortar will begin to come loose, break and shatter. Sand the adhesive off of the wall.
Wipe Down The Wall Using A Damp Sponge To Remove Any Dust.
Steps to remove granite backsplash step 1: Insert a putty knife in the laminate backsplash. To remove kitchen backsplash first you need to clear off the counter tops, turn off the power to your electrical outlets, and remove all outlet and light switch covers.
Then Cut Around The Backsplash And Through The Drywall.
Use a hammer to tap the knife into the laminate. Roll primer onto the drywall and patched joint. Use a hairdryer to heat up the backsplash and gently peel it away from the wall.
That Dry Wall Creates A Lot Of Dust!
How to remove a backsplash and prep the walls for. Once you get an area loose, insert something behind to keep the. Remove as much from between the bricks as possible.
You Need To Be Able To Get As Close To The Wall Behind The Brick.
This will further loosen the tile reducing the chances of you. You can avoid this by marking the. Use your wire cheese cutter to slice through the silicone sealant that attaches the splashback to the wall.
 Source: www.pinterest.com
Once you get an area loose, insert something behind to keep the. You need to be able to get as close to the wall behind the brick.
 Source: www.maebells.com
Use a primer that matches the surrounding wall and roll slightly past the patched joint to ensure full coverage. Once you’re done removing the caulking, grab the putty knife and your hammer/mallet.
 Source: www.homedit.com
In this article details a step by step how to. If you start with a tile situated over a stud, you have a lower chance of pulling drywall off.
 Source: madewithgraceandgrit.com
Next be sure you have all. And refrain from cutting into the framing of the wall.
 Source: www.homedit.com
Use a hammer to tap the knife into the laminate. Then cut around the backsplash and through the drywall.
 Source: www.homedit.com
To remove kitchen backsplash first you need to clear off the counter tops, turn off the power to your electrical outlets, and remove all outlet and light switch covers. Remove as much from between the bricks as possible.
 Source: www.pinterest.com
Use a hairdryer to heat up the backsplash and gently peel it away from the wall. Once you get an area loose, insert something behind to keep the.
 Source: www.homedit.com
How to remove a backsplash and prep the walls for. Cut through the silicone sealant, corner to middle.
 Source: www.twelveonmain.com
Sand the adhesive off of the wall. First, use the stud finder to locate a stud and mark this as your starting point.
 Source: www.pinterest.com
To remove kitchen backsplash first you need to clear off the counter tops, turn off the power to your electrical outlets, and remove all outlet and light switch covers. Cut through the silicone sealant, corner to middle.
 Source: toolboxdivas.com
If you accidentally hit the drywall, now is the time to fill it with a drywall joint compound. Wipe down the wall using a damp sponge to remove any dust.
 Source: madewithgraceandgrit.com
Sand the adhesive off of the wall. We’re at the halfway point of the one room challenge, and i’m sharing a post that i desperately search for but couldn’t find:
 Source: www.pinterest.com
Then cut around the backsplash and through the drywall. Remove as much from between the bricks as possible.
 Source: toolboxdivas.com
Cut through the silicone sealant, corner to middle. To remove the backsplashes you will be inserting a putty knife behind and gently prying.
 Source: www.pinterest.com
Insert a putty knife in the laminate backsplash. To remove the backsplashes you will be inserting a putty knife behind and gently prying.
 Source: tyres2c.com
Remove as much from between the bricks as possible. You need to be able to get as close to the wall behind the brick.
 Source: www.pinterest.com
Remove as much from between the bricks as possible. Insert a putty knife in the laminate backsplash.
 Source: www.pinterest.com
Grout and mortar will begin to come loose, break and shatter. If you start with a tile situated over a stud, you have a lower chance of pulling drywall off.
 Source: www.youtube.com
Steps to remove granite backsplash step 1: Carefully slide the blade of your putty knife between the granite backsplash.
 Source: toolboxdivas.com
Use a hammer to tap the knife into the laminate. And refrain from cutting into the framing of the wall.


